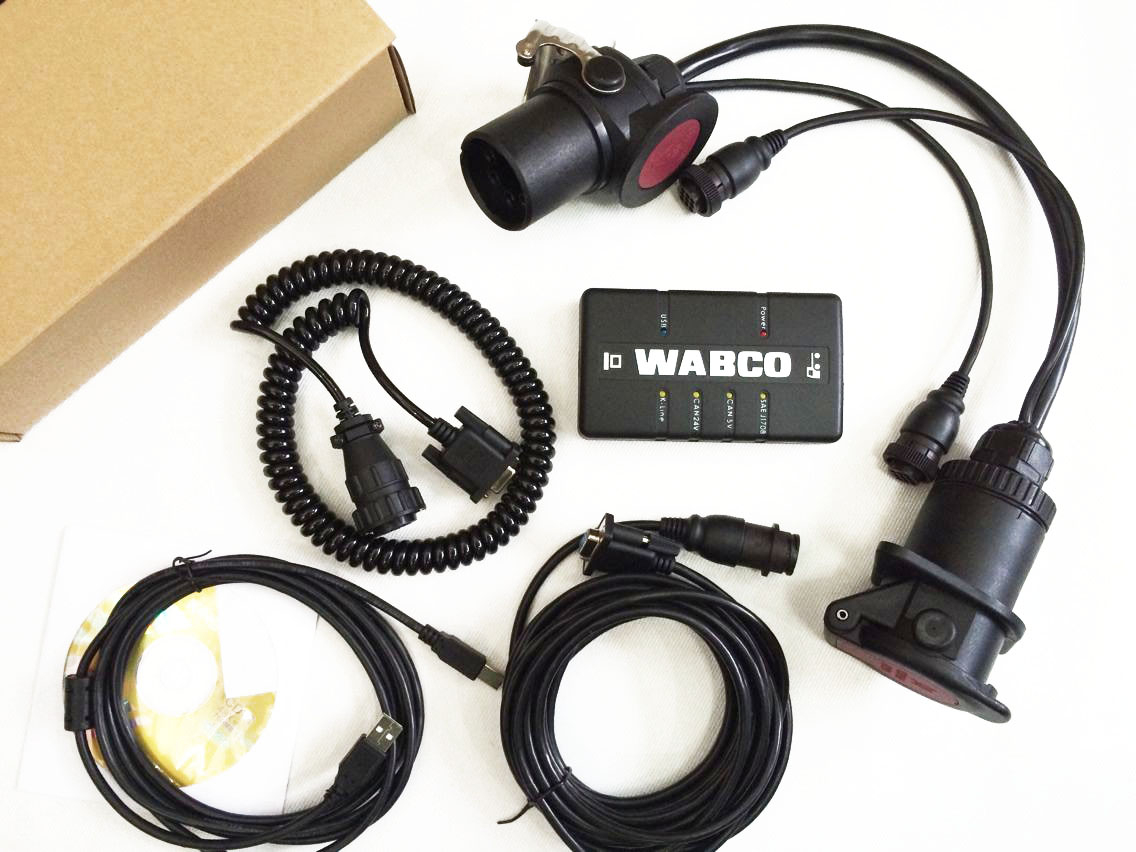
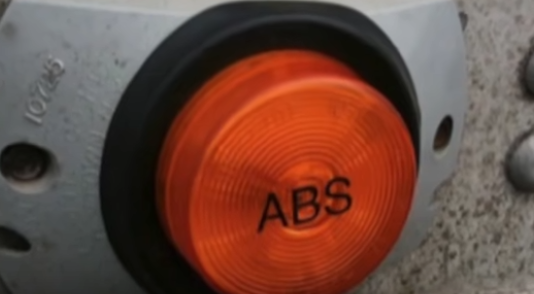
To diagnose a WABCO trailer ABS system, follow these steps:
1. Connect the diagnostic kit: Connect the WABCO DIAGNOSTIC KIT to the trailer’s diagnostic port using the cable provided.
2. Turn on the ignition: Turn on the trailer’s ignition to power up the diagnostic kit.
3. Launch the diagnostic software: Install the diagnostic software on your computer and launch it. The software will automatically recognize the diagnostic kit and connect to the trailer’s system.
4. Perform a system scan: Select the appropriate trailer make and model from the menu and perform a system scan. The software will retrieve any fault codes stored in the trailer’s ABS system and display them on the screen.
5. Interpret the results: Analyze the fault codes to identify the problem with the ABS system. The software will provide a description of each fault code, along with recommended repair procedures.
6. Check the wiring: Inspect the wiring and connectors for any damage or corrosion. Ensure that all connections are secure and free of debris.
7. Inspect the wheel sensors: Inspect the wheel sensors for any damage or debris. Ensure that they are properly aligned and functioning.
8. Check the brake system: Check the brake system for any leaks, damaged components, or worn brake pads. Repair or replace any damaged or worn components as necessary.
9. Test the system: Test the ABS system to ensure that it is functioning properly. Drive the trailer and apply the brakes to test the system’s response.
10. Clear fault codes: Once the repairs are complete, use the diagnostic kit to clear any fault codes stored in the system. This will reset the system and ensure that the issue has been resolved.
It’s important to note that the specific steps for diagnosing a WABCO trailer ABS system may vary depending on the diagnostic kit and software version. Always refer to the user manual or documentation provided with the kit for specific instructions.

