This instruction provides a step-by-step guide on how to assemble the New Holland T6030 Power Command Mid-mount Remote Control Valve.
Related Contents:
CNH DPA5 Diagnostic Kit
Perform signal valve pressure test for New Holland T6030
New Holland T6030 Tractor Primary Hydraulic Remote Valve Disassemble Guide
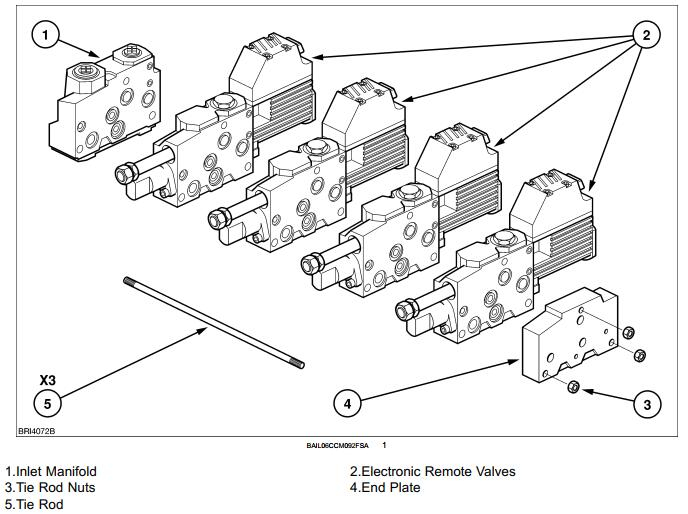
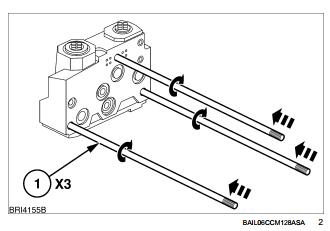
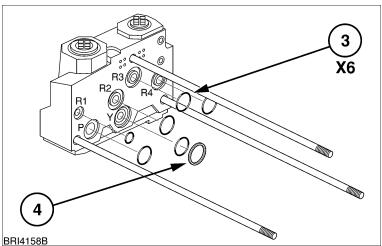
1. Start by inserting the tie rods into the inlet manifold and screw them in by hand as far as they will go.
2. If any adhesive shims have been used previously, push a shim onto the tie rods.
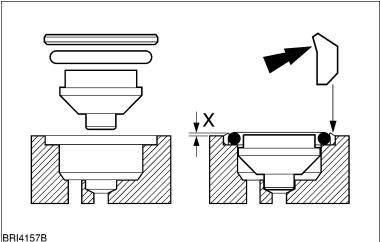
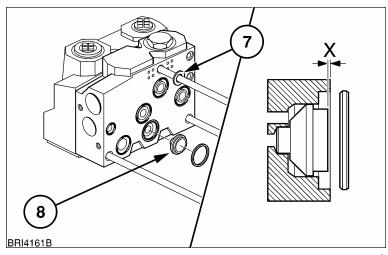
3. Insert the load sensing shuttle valve along with the ‘O’ ring and support ring into port ‘Y’, as shown in Figure 4. Make sure that clearance X is approximately 0.5 mm from the flange face of the valve segment to the top edge of the inserted shuttle valve.
4. Insert new ‘O’ rings into the pressure and return ports, as well as the load sense ‘O’ ring and support ring.
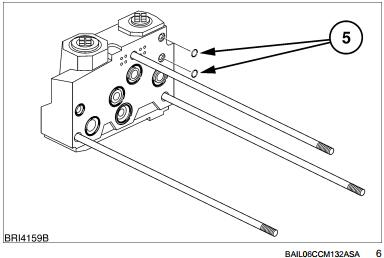
5. Insert new ‘O’ rings into the pilot line oil holes.
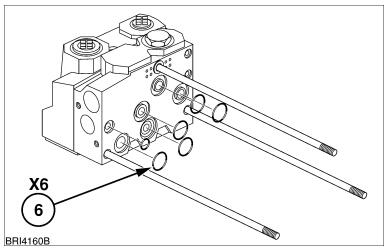
6. Place the first valve slice onto the tie rods and insert new ‘O’ rings into the relevant ports.
7. If the flange face has corrugations that have been smoothed with a dressing stone, thread one spacer onto each tie rod. Insert the load sense valve and support ring as shown. Again, ensure that clearance X is approximately 0.5 mm from the flange face of the valve segment to the top edge of the inserted shuttle valve.
8. Insert the ‘O’ rings into the control oil holes.
9. Push the last slice onto the tie rods and insert the ‘O’ ring.

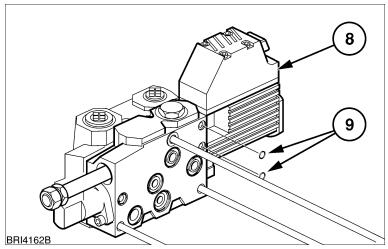
10. Fit the end plate.
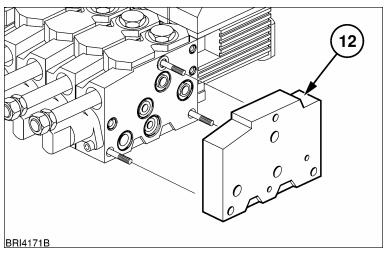
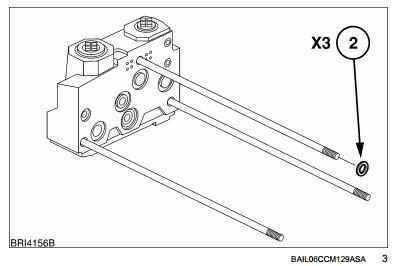
11. Push the end plate onto the tie rods and screw on the nuts by hand.
12. Place the now assembled valve stack onto a level surface to correctly align the sections.
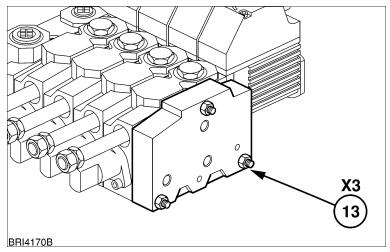
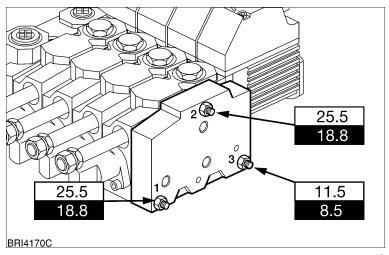
13. Tighten the nuts in the specified order and to the correct torque.
Looking forward to your consultation our website sale@cnautotool.com